# docker run hello-world
Unable to find image 'hello-world:latest' locally
latest: Pulling from library/hello-world
1b930d010525: Pull complete
Digest: sha256:92695bc579f31df7a63da6922075d0666e565ceccad16b59c3374d2cf4e8e50e
Status: Downloaded newer image for hello-world:latestHello from Docker!
This message shows that your installation appears to be working correctly.
2. Initialize Docker swarm from the swarm-manager
We’ll use the swarm-manager’s private IP as the “advertised address”.
swarm-manager:~# docker swarm init --advertise-addr 192.168.2.99
Swarm initialized: current node (sz42o1yjz08t3x98aj82z33pe) is now a manager.To add a worker to this swarm, run the following command:docker swarm join --token SWMTKN-1-3gi2wi4o22nyiqij3io055na7wt0201oamaegykllea0t5vi5k-2qjld08v7ouzax6gzw15dw2ab 192.168.2.99:2377To add a manager to this swarm, run 'docker swarm join-token manager' and follow the instructions.
3. Add the three gluster VMs as swarm workers
gluster1:~# docker swarm join --token SWMTKN-1-3gi2wi4o22nyiqij3io055na7wt0201oamaegykllea0t5vi5k-2qjld08v7ouzax6gzw15dw2ab 192.168.2.99:2377
This node joined a swarm as a worker.gluster2:~# docker swarm join --token SWMTKN-1-3gi2wi4o22nyiqij3io055na7wt0201oamaegykllea0t5vi5k-2qjld08v7ouzax6gzw15dw2ab 192.168.2.99:2377
This node joined a swarm as a worker.gluster3:~# docker swarm join --token SWMTKN-1-3gi2wi4o22nyiqij3io055na7wt0201oamaegykllea0t5vi5k-2qjld08v7ouzax6gzw15dw2ab 192.168.2.99:2377
This node joined a swarm as a worker.swarm-manager:~# docker node ls
ID                            HOSTNAME            STATUS              AVAILABILITY        MANAGER STATUS      ENGINE VERSION
qjmuz0n8n770ryougk2tsb37x     gluster1            Ready               Active                                  18.09.5
kcwsavrtzhvy038357p51lwl2     gluster2            Ready               Active                                  18.09.5
ifnzgpk25p27y19vslee4v74x     gluster3            Ready               Active                                  18.09.5
sz42o1yjz08t3x98aj82z33pe *   swarm-manager       Ready               Active              Leader              18.09.5
Part 3: Test the High Availability Setup
We’ll use docker stack to setup a single container WordPress backed by a single container of MySQL, and then test if this setup is resilient to VM failure.
1. Create replicated directories for wordpress and mysql in glusterFS
gluster1:~# mkdir /mnt/wp-content
gluster1:~# mkdir /mnt/mysql
2. Create the wordpress-stack.yml file
This stack file exposes wordpress on port 8080 on all swarm nodes, even the swarm-manager node. It mounts the directories created for wp-content and mysql as volumes on the containers.
swarm-manager:~# cat wordpress-stack.yml
# wordpress-stack.yml
version: '3.1'services:  wordpress:
    image: wordpress
    restart: always
    ports:
      - 8080:80
    environment:
      WORDPRESS_DB_HOST: db
      WORDPRESS_DB_USER: exampleuser
      WORDPRESS_DB_PASSWORD: examplepass
      WORDPRESS_DB_NAME: exampledb
    volumes:
      - "/mnt/wp-content:/var/www/html/wp-content"
    deploy:
      placement:
        constraints: [node.role == worker]  db:
    image: mysql:5.7
    restart: always
    environment:
      MYSQL_DATABASE: exampledb
      MYSQL_USER: exampleuser
      MYSQL_PASSWORD: examplepass
      MYSQL_RANDOM_ROOT_PASSWORD: '1'
    volumes:
      - "/mnt/mysql:/var/lib/mysql"
    deploy:
      placement:
        constraints: [node.role == worker]
3. Use docker stack to deploy WordPress and MySQL
swarm-manager:~# docker stack deploy -c wordpress-stack.yml wordpress
Ignoring unsupported options: restartCreating network wordpress_default
Creating service wordpress_db
Creating service wordpress_wordpressswarm-manager:~# docker stack ps wordpress
ID                  NAME                    IMAGE               NODE                DESIRED STATE       CURRENT STATE           ERROR               PORTS
x5vvrt6ohko2        wordpress_db.1          mysql:5.7           gluster2            Running             Running 5 minutes ago
idree9r7qlxb        wordpress_wordpress.1   wordpress:latest    gluster1            Running             Running 5 minutes ago
Check if WordPress is up by entering http://<any-worker-external-ip>:8080/ in the browser.
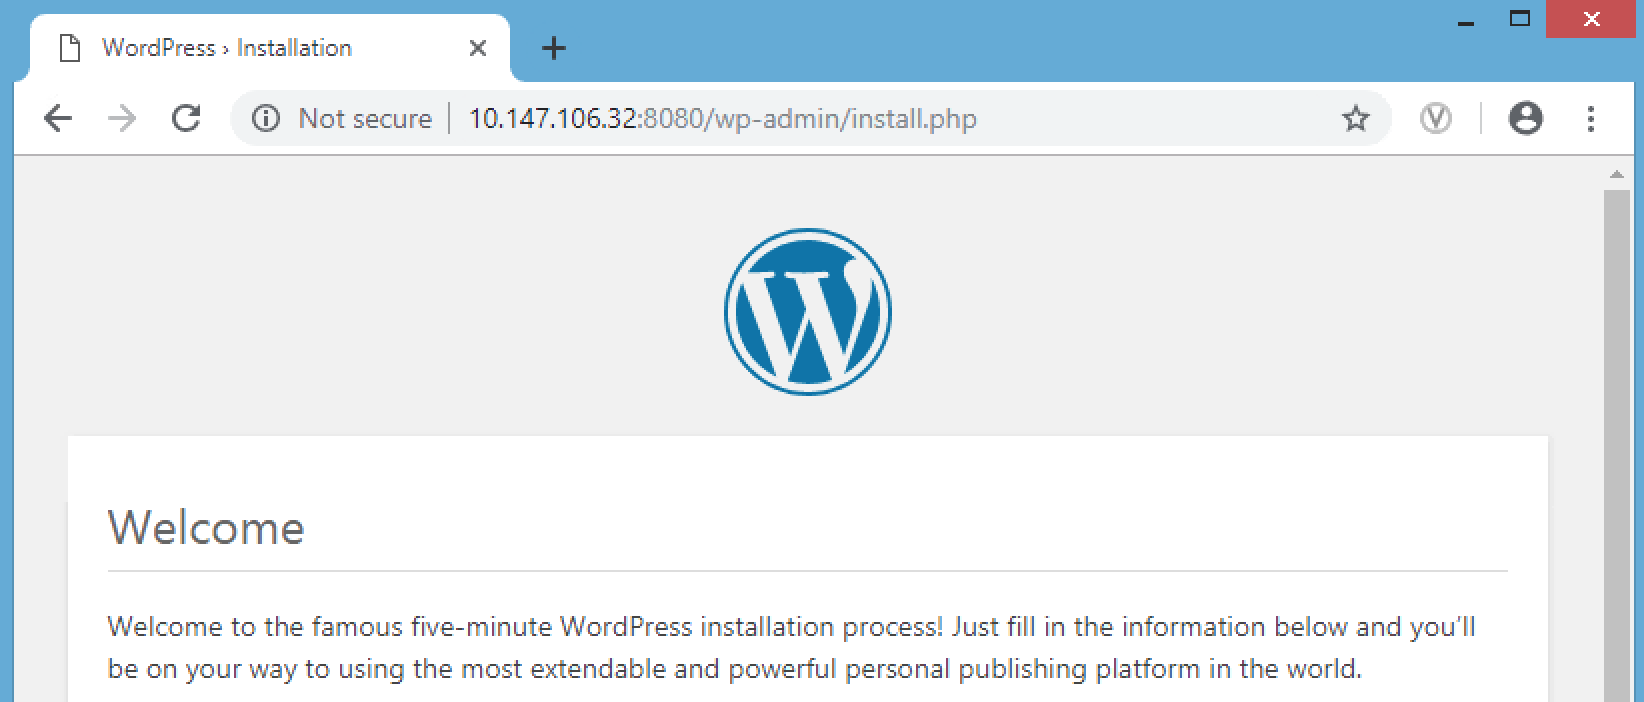
Note: 10.147.106.32 was one of my gluster worker VM’s (gluster3) external IP
Go through the install process, choose an admin username and password, and create your first post.
4. Test High Availability by shutting down a VM
Check on which VM the WordPress and MySQL containers are running. We’ll shutdown each VM to understand whether HA is working properly. In my case, the WordPress container was running on gluster1 and MySQL was running on gluster2.
swarm-manager:~# docker stack ps wordpress
ID                  NAME                    IMAGE               NODE                DESIRED STATE       CURRENT STATE            ERROR               PORTS
x5vvrt6ohko2        wordpress_db.1          mysql:5.7           gluster2            Running             Running 24 minutes ago
idree9r7qlxb        wordpress_wordpress.1   wordpress:latest    gluster1            Running             Running 24 minutes ago
Shutdown gluster1 and check what happens. You’ll find that docker swarm starts a new container on a new worker VM. The website will continue to work, your data will still be stored, but you’ll have to login again as the session data is lost with the previous container.
swarm-manager:~# docker stack ps wordpress
ID                  NAME                    IMAGE               NODE                DESIRED STATE       CURRENT STATE                ERROR               PORTS
u8s93kowj2mx        wordpress_wordpress.1   wordpress:latest    gluster3            Running             Running 3 seconds ago
x5vvrt6ohko2        wordpress_db.1          mysql:5.7           gluster2            Running             Running 28 minutes ago
idree9r7qlxb        wordpress_wordpress.1   wordpress:latest    gluster1            Shutdown            Running about a minute ago
Start the gluster1 VM again and let’s repeat the HA test with MySQL host gluster2. Shutdown gluster2 which was running the MySQL container. After shutdown, you’ll find docker swarm has scheduled MySQL on another worker VM.
swarm-manager:~# docker stack ps wordpress
ID                  NAME                    IMAGE               NODE                DESIRED STATE       CURRENT STATE              ERROR               PORTS
px90rs5q22ei        wordpress_db.1          mysql:5.7           gluster1            Running             Preparing 41 seconds ago
u8s93kowj2mx        wordpress_wordpress.1   wordpress:latest    gluster3            Running             Running 6 minutes ago
x5vvrt6ohko2        wordpress_db.1          mysql:5.7           gluster2            Shutdown            Running 50 seconds ago
idree9r7qlxb        wordpress_wordpress.1   wordpress:latest    gluster1            Shutdown            Shutdown 3 minutes ago
The website will continue to work without any data loss as the MySQL container would have found the replicated volume under the same path (/mnt/mysql).
Add the three worker VM IPs with port behind a Load Balancer (like AWS ELB) and voilà, A Highly Available stateful deployment on Docker Swarm using GlusterFS.